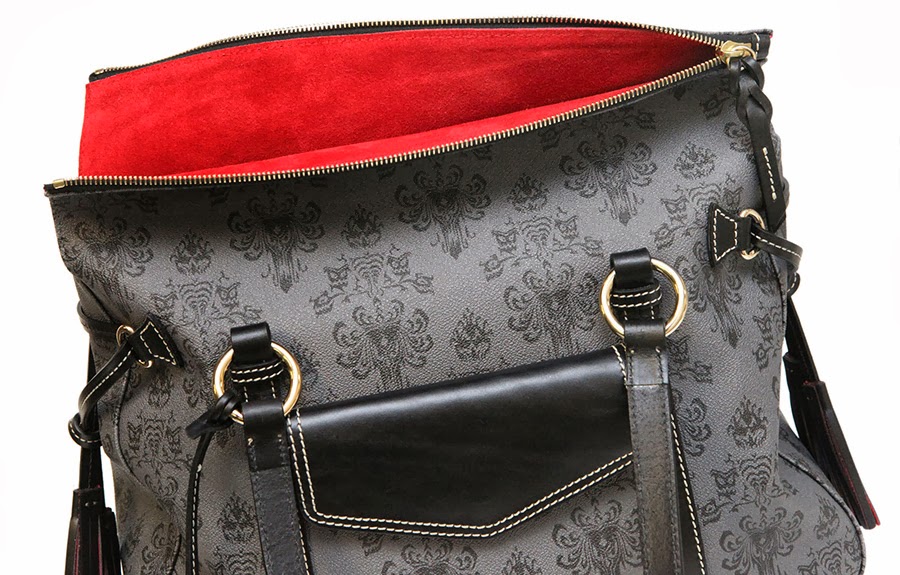
I went into The Great Cape Adventure knowing I wanted to line it for extra warmth. What I didn't expect was the desire for it to look so pretty from the inside too. And let me tell you,
boy, does it look pretty.
When I don't know how to do something I generally do a combination of winging it and seeing if people smarter than me have put instructions on the interwebs for me to follow. Most of the time this combination works out pretty well.
My pattern didn't come with instructions for a lining, so I sort of followed
the tutorial written by Tasia on Tilly and the Buttons. Since my pattern doesn't have sleeves, and mine does have a collar, I modified the instructions to fit my needs. Sewing is all about bending the rules, right?
I traced my original pattern pieces onto Swedish Tracing Paper and used Tasia's instructions to draft the lining pieces.
I know. This picture sucks.
The original pattern pieces are in blue, and where I made modifications to where I actually needed to cut are in pink. I also made sure to transfer over other markings, like the circles for the pockets because I wouldn't want to cover up the pockets I worked so hard on!
The pockets were also a difference from Tasia's tutorial because I needed to use the same seams due to those pesky pockets. So my lining had four pieces instead of her two.
I cut out my new pattern pieces, labeled them accordingly, and sewed up my lining. For the hand/pocket holes, I cut into the fabric at the holes and did a turn and stitch approach to create the space and take care of the raw edge. Also, since my jacket already has a pleat, I added an extra inch to Tasia's recommended 1" to make sure I have plenty of wingspan for hugs.
Once I had all my lining pieces attached at the proverbial hip, I lined up the collar and the top of my lining right sides together. Oh wait! This is where I added my hanging chain. Tasia had used a tutorial that she linked to quite a while ago, but when I went to the link the blog was gone. So, I winged it.
I picked up some grosgrain ribbon and a bracelet/necklace making kit. I used two jump rings and a length of the bracelet, cut two pieces of ribbon about 2" long, folded them in half (for extra strength) and pinned them in place. While sewing the lining in place, I made sure to go over the ribbon ends lots of times to make sure they don't pull out.
Since my cape is kind of an awkward shape all around, the lining that attaches to the collar was the only part I could sew by machine. I went down each side and methodically hand stitched the lining the the facings. I slip stitched the pocket opening to the pocket holes and welt flaps. Finally, I folded the bottom edge under and slip stitched to the seam line. I did this to create vertical ease in the lining. If you look at the inside of a lined jacket, you will see that the lining either has a fold at the bottom, or the lining hangs free and is tacked in at a couple select spots, like the seams.
ITZSOPREEEETTYYYYOMG
And then .... drum roll please .... A FINISHED CAPE!!!!!! Photos to come.